Steps to Build Your Own Mechanical Keyboard
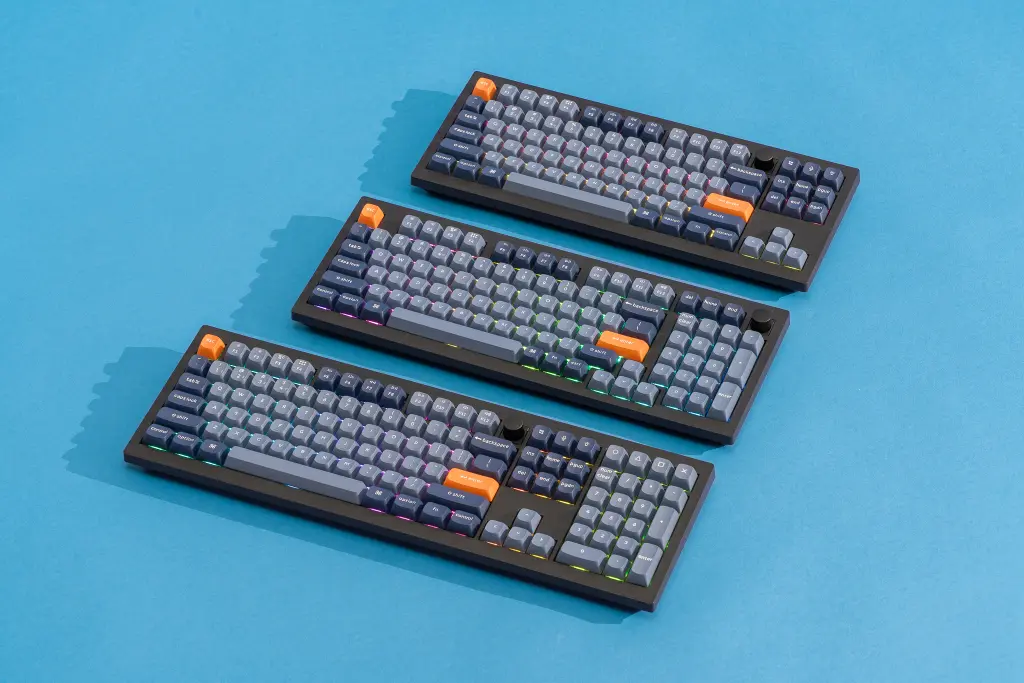
1. Choose Your Keyboard Layout
The first step is deciding on a keyboard layout. Popular layouts include the standard full-size, tenkeyless (TKL), or 60%. Consider your typing habits and space requirements when choosing.
2. Select Your Switches
Mechanical switches come in various types, such as linear, tactile, or clicky. Each type provides a different typing experience. Research and choose the one that best suits your preferences.
3. Pick the Right Keycaps
Keycaps come in different profiles, materials, and colors. PBT and ABS are common materials, while profiles like Cherry or SA offer different typing feels. Customize your keycaps to fit your style.
4. Get a Compatible PCB
The PCB (Printed Circuit Board) is the heart of your keyboard. Ensure the PCB you choose supports your layout and preferred features, such as hot-swappable switches or RGB lighting.
5. Assemble Your Keyboard
Once you have all the components, it’s time to assemble. Start by mounting the switches onto the PCB, followed by the keycaps. Finally, place the PCB into the case and screw it together.